1
Dust and Debris Removal
To begin, all loose valuables and garbage are removed from the vehicle’s interior. Then dust and debris are dislodged, starting from the front cabin area and working towards the back of the vehicle. The interior is then vacuumed to finish removing the dust and debris.
The time to remove dust and debris is dependent on the interior surface area of the vehicle, and the intensity and amount of dust and debris accumulated. Once this task is complete, the areas of application will be free of unwanted dust and debris.
Safety supplies include goggles and impervious gloves.
You will require a vacuum, air pressure equipment (for use with the air gun), and clear plastic bags (for safe valuable storage) to complete this task. View the products used tab for Auto Valet products and accessories relating to this detailing task.
AREAS OF APPLICATION

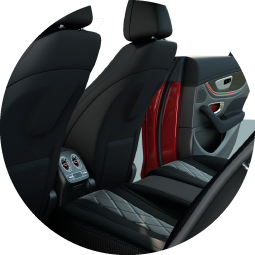
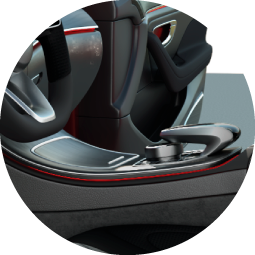
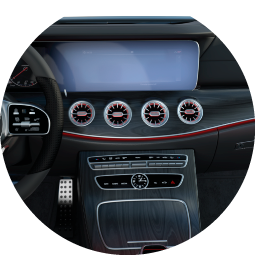
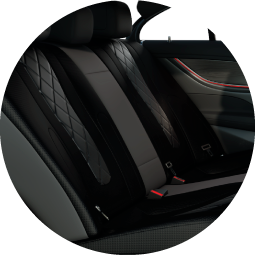
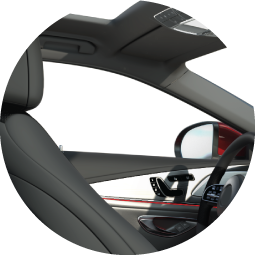
Interior Surfaces

PRODUCTS USED
PRODUCTS USED
Detailing task 1: Dust and Debris Removal
-(web).jpg)
-(web).jpg)
.jpg)
Directions
STEP 1: REMOVE LOOSE VALUABLES AND GARBAGE
Remove all loose valuables and garbage from the vehicle. Thoroughly inspect the floor, door compartments, and under the seats. If valuables are found, place them inside a plastic bag. Ensure to place the bag containing the valuables in a safe spot (e.g., the glove compartment). Notify your supervisor of any valuables found, and return removed valuables to the vehicle owner.Remove all removable rubber and carpet floor mats from the interior of the vehicle. To allow for maximum floor mat drying time, complete the floor mat clean (see floor mat clean task) before moving on to steps 2 and 3.
STEP 2: DISLODGE DUST AND DEBRIS
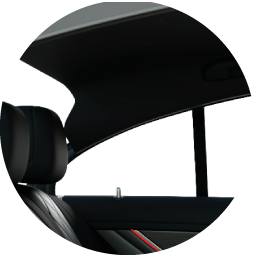
Situate the driver and passenger seats to the furthest back and fully reclined position. Back seams should be completely exposed.Use an air gun and dust brush to dislodge all loose dust and debris.
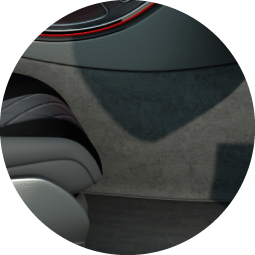
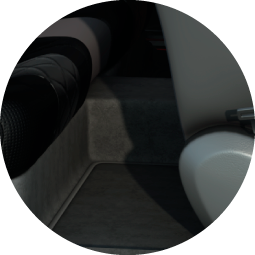
Start from the front dashboard and work downwards towards the instruments, console, seatbacks, and seats to the floorboards. Pay particular attention to seams, vents, and button housings. Work carefully under the seats blowing the dust and dirt up to the front floorboard area and either vacuuming or blowing the gathered material out of the vehicle.
Reposition the seats to the full forward and upright position.
Work from the rear back window dashboard moving downwards; repeating the same process as in the front cabin.
STEP 3: VACUUM INTERIOR
Use a vacuum to systematically vacuum all interior surfaces including the seats, floor, and console.STEP 4: REVIEW YOUR WORK
Review your work. For remaining dust and debris, repeat the blowing and vacuuming process until the dust and debris is removed.Tips
- Wear gloves to keep your hands safe while removing loose valuables and garbage from the interior of the vehicle.
- When dislodging dust and debris, inspect all areas for damage and make notes for reference.
- If pet hair is accumulated, follow the directions for the pet hair removal task.
- Be sure to carefully read and follow all product instructions and precautions, on the product labels.
FREQUENTLY ASKED QUESTIONS
You will require a dusting brush, an air gun and air pressure equipment, a vacuum, and clear plastic bags (for safe valuable storage).